
Community Agreements - Toilet Paper Rolls
Discipline: Team Building and Community Agreements*
Age Range: 10+
Estimated Time: 20-30 minutes
What you need: Empty toilet paper rolls; scissors; string, tape or rubber bands; markers, pens, or paint and paintbrushes; stickers; and any additional art supplies you would like for decorating; and tape (optional)

*Community agreements are created as a way to establish a mutual understanding or make a set of expectations for all members of a community to abide by. They can be based on many things, such as how to support each community member and how to make everyone feel included. Please see What is a Community Agreement? blog post before starting this project.
Instructions:
1. Collect crafting materials and remove any excess toilet paper from rolls.

2. Use a different toilet paper roll and cut into segments — one segment for each community member. Feel free to use multiple rolls if you have a large community!

3. Give each community members their toilet paper roll segment. Have them add their name and decorate it to highlight their individuality within the community.

4. Designate one toilet paper roll for your community name and values. Collaborate with community members to decorate this community roll and add words or pictures that represent your agreement

7. Option A: Have an adult use scissors or another sharp object to poke small holes in the main roll and each individual’s segments. Pull string or other hanging material through the hole in the main roll and individual roll and tie a knot to secure the end.


Option B: Use tape or glue to attach string ends to the main roll and individual segments.


6. Enjoy your final product!


Community Agreements - Friendship Bracelets
Discipline: Team Building and Community Agreements*
Age Range: 10+
Estimated Time: 20+ minutes
What you need: Scissors, string or thin yarn a binder clip or tape
*Community agreements are created as a way to establish a mutual understanding or make a set of expectations for all members of a community to abide by. They can be based on many things, such as how to support each community member and how to make everyone feel included. Please see What is a Community Agreement? blog post before starting this project.
Instructions:
1. Have each community member choose a string that will represent what they bring to the community, or what they would like to see in their community.

2. Cut strings long enough to fit as a bracelet and tie them together in an overhand knot at the end. Two feet should be a good length with which to start.

3. Clip or tape the strings onto something stable, such as a clipboard or chair.
4. Put the strings in the order that you want the colors to be in. The string furthest to the left will make the first row.
5. Take the first string (light blue in the picture below) and put it across on top of the second string (red) so that it looks like the number 4. Be sure to cross OVER the second string, not under it.
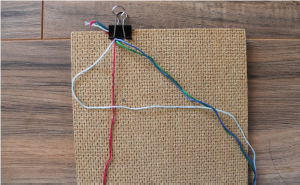
6. Wrap the tail end of the string (light blue end on the right) around the second string (red) and pull through the window you just made. Tighten the light blue string and move the loop up to the top of the bracelet while holding the second string (red) taught. Make a second loop by pulling the first string (light blue) around the second (red), the same way the first knot was tied.

7. Continue step 6 with each color of string, tying two loops around the strings to the right of the color you’re working on.
Example:
Light blue -> Red (2x), Green (2x), Dark blue (2x)
Red-> Green (2x), Dark blue (2x), Light Blue (2x)
Green-> Dark blue (2x), Light blue (2x), Red (2x)...etc.

8. Continue this process with the rest of the colors until the bracelet is long enough!

9. Wear the bracelet to remind you about what your community represents to you.
Helpful Hints: If you are having trouble following along with these instructions, there are many online videos that may be helpful! Here are a few:
DYI: 4 Easy Friendship Bracelets | Jada Draper
DIY Friendship Bracelets for Beginners | Craft Factory
Community Agreements - Using Construction Paper
Discipline: Team Building and Community Agreements*
Age Range: 10+
Estimated Time: 10-20 minutes
What you need: Construction paper; markers, pencils or paint; scissors; and tape or glue

*Community agreements are created as a way to establish a mutual understanding or make a set of expectations for all members of a community to abide by. They can be based on many things, such as how to support each community member and how to make everyone feel included. Please see What is a Community Agreement? blog post before starting this project.
Instructions:
1. Start with construction paper and grab some fun colors!

2. Choose two colors. Trace out a tree trunk and a tree top in any color you like.

3. Combine on to a background. Glue or tape tree on a larger piece of construction paper.

4. Add to the tree. Trace and cut out apples, fruits, treen nuts, squirrels and any other things that you might find on a tree.

5. Add values. Have everyone who is part of your community agreement add different values they believe are important for your community.

What is a Community Agreement?
Discipline: Team Building and Community Agreements
Age Range: 10+
Estimated Time: 20-60 minutes
What you need: Any crafting supplies you want to use. You can be really creative and use whatever feels the most inclusive for the group with whom you are working. Are you low on art supplies? See the community agreement project posts for ideas on how to create a community agreement using your computer or everyday household items.

Introduction: Community agreements are created as a way to establish a mutual understanding or make a set of expectations for all members of a community to abide by. They can be based on many things, such as how to support each community member and how to make everyone feel included. Some communities may struggle to get along with each other when there are shifts in normal dynamics. For example, those sharing living spaces may currently be experiencing increased tension or conflicts due to spending much more time together in a confined space. A community agreement can be beneficial to help dissolve these problems, as it allows everyone to freely express their wants, needs, and expectations in a group setting.
Instructions:
There is no one right way to design these agreements. Please see our example blog posts for further details on creative ways to engage all community members in the making of your agreement. What are the steps to create your own community agreement? Follow these steps:
1. Determine who is in your community. A community is defined as a group of people who share something in common. Some examples may include:
- Your family
- The people who with you
- A sports team you are on or club you are in
- A classroom with students and teachers
- A workspace including bosses and coworkers
A community can be small or large; it depends on how you define it!
2. Allow everyone in your community to have space to contribute what they want in the agreement and be heard. One method could be to share values or expectations in a circular format, allowing each person involved to bring up one thing they want to be included in the agreement at a time.
3. Time to get creative! Depending on what you have in your space, you can get crafty with paper, paint, rocks, string, beads, etc. If craft supplies are limited, try keeping it simple and reuse household items for your visual representation. Try repurposing toilet paper rolls, tissue boxes, glass or plastic containers, etc. We will provide some examples in the following blog posts if you are feeling stuck!
4. Display your agreement somewhere where it is easily seen so that each community member can be reminded of what they agreed to regularly. You can refer back to it when you feel like your community may not be fulfilling the agreement, or when you think you are following it very well! Positive reinforcement is a great way to highlight your agreement, so remember to give appreciation to those in your community who are actively working to follow it.
Social Emotional Learning. What Is It and Why Is It Important?

If you have a school-age child, you may have heard about Social-Emotional Learning (SEL) through your school or their teachers as the term has gained popularity in formal education. Additionally, it has been an integral component of learning at residential environmental education centers (outdoor schools) like Sierra Nevada Journeys outdoor program at our Outdoor Education Camp.
Our Overnight Outdoor Learning program has been an extension of regular classroom programs with schools. Held at the beautiful Camp in Portola, California, Overnight Outdoor Learning is designed for fifth- and sixth-grade students and includes STEM, teambuilding, and SEL components. When students attend the 3-to-5-day program, we use the outdoors as their classroom and they learn using experiential, hands-on approaches. They are encouraged to use critical thinking by asking questions, making observations and conducting investigations.
One of the key components of Overnight Outdoor Learning is SEL defined as,
“The process through which children and adults understand and manage emotions, set and achieve positive goals, feel and show empathy for others, establish and maintain positive relationships, and make responsible decisions.”
- Collaborative for Academic, Social, and Emotional Learning (CASEL)
Why is SEL important?
SEL provides a foundation for safe and positive learning and enhances students' ability to succeed in school, careers, and life.
Research shows that SEL not only improves achievement by an average of 11 percentile points, but it also increases prosocial behaviors (such as kindness, sharing and empathy), improves student attitudes toward school, and reduces depression and stress among students (Durlak et al., 2011).
During the coronavirus pandemic, many youth may be experiencing stress and anxiety. They may feel disconnected from others due to quarantine and schools being closed. The need for SEL is rising due to these circumstances.
Ask your school about SEL programs that they may offer. Since 2012, the Washoe County School District has been using SEL strategies as a way to increase graduation rates.
Through Washoe County School District’s Parent University, you’ll find regularly scheduled SEL courses to help parents engage in SEL practices, such as College and Career Success and Building Resiliency in Children.
Sacramento City Unified School District’s SEL at home is a great place for parents to learn SEL principles that they can do with their children. They include:
1. Focus on strengths.
2. Follow up with a consequence for misbehavior.
3. Ask children how they feel.
4. Find ways to stay calm when angry.
5. Avoid humiliating or mocking your child.
6. Be willing to apologize.
7. Give children choices and respect their wishes.
8. Ask questions that help children solve problems on their own.
9. Encourage sharing and helping
Game of Things, a New Twist on Family Game Night
Discipline: Social Emotional Learning
Age Range: All ages
Estimated Time: At least 5 minutes to no limit
What You Need: Paper and pens

Introduction: If you’ve ever been to Sierra Nevada Journeys Outdoor Education Camp, you know we love to play games! They’re a fun way for families to bond. Game of Things is a great way to get the whole family together for a night of laughs, all while getting to know each other a little better. This game is best played with at least four people, but there is no limit to the number of players.
Instructions: This game starts with one person creating a prompt. For example, what are three things you would bring with you if you had to live on an island for a week? All players, including the person who created the prompt, will then write their answer and their name on a small piece of paper. The person who created the prompt will then collect all the pieces of paper and read them to the whole group.
Once all answers have been read aloud, the person to the left of the reader will attempt to match one of the answers with the person who wrote it. If they are correct, they will hold on to the piece of paper and try to match another answer with a player. If they are incorrect, the next player in the circle will attempt to match an answer to a player. This will continue until all of the pieces of paper have been matched with who wrote them.
The only player who does not guess is the person who created the prompt and read the answers aloud. Once all of the answers have been matched with a player, a new player will then create a prompt and the process begins again.
Meet a Tree (Video)
Discipline: Teambuilding, SEL, and Science & Nature
Age Range: 6+
Estimated Time: 30 minutes
What You Need: A partner, a bandana or blindfold, and an outdoor space with trees (alternatively, an indoor space and some rocks)

Practice your observational skills and connect with nature by meeting a tree! In this activity, partners will trade-off leading their partner to a tree blindfolded, “meeting” the tree using senses other than vision, and attempting to find their tree after removing their blindfold based on the observations they have made.
In this 5-minute video, you’ll also find an option to try this activity indoors using rocks. Afterwards, review and discuss the reflections questions below.
Reflection Questions:
What senses or techniques did you use to find your tree or rock?
What sense did you use the least?
How can you use these skills to observe other things in the future?
Bottle-to-Boot Game

Discipline: Teambuilding
Age Range: 7+
Estimated Time: 10+ minutes
What You Need: Two chairs, two shoes, a minimum of five people so round up your entire family; one water bottle (or something strong enough to have shoes thrown at it without damage)
Introduction: This is an active game and can be played outdoors or in a large indoor space such as a basement or garage area.

Instructions:
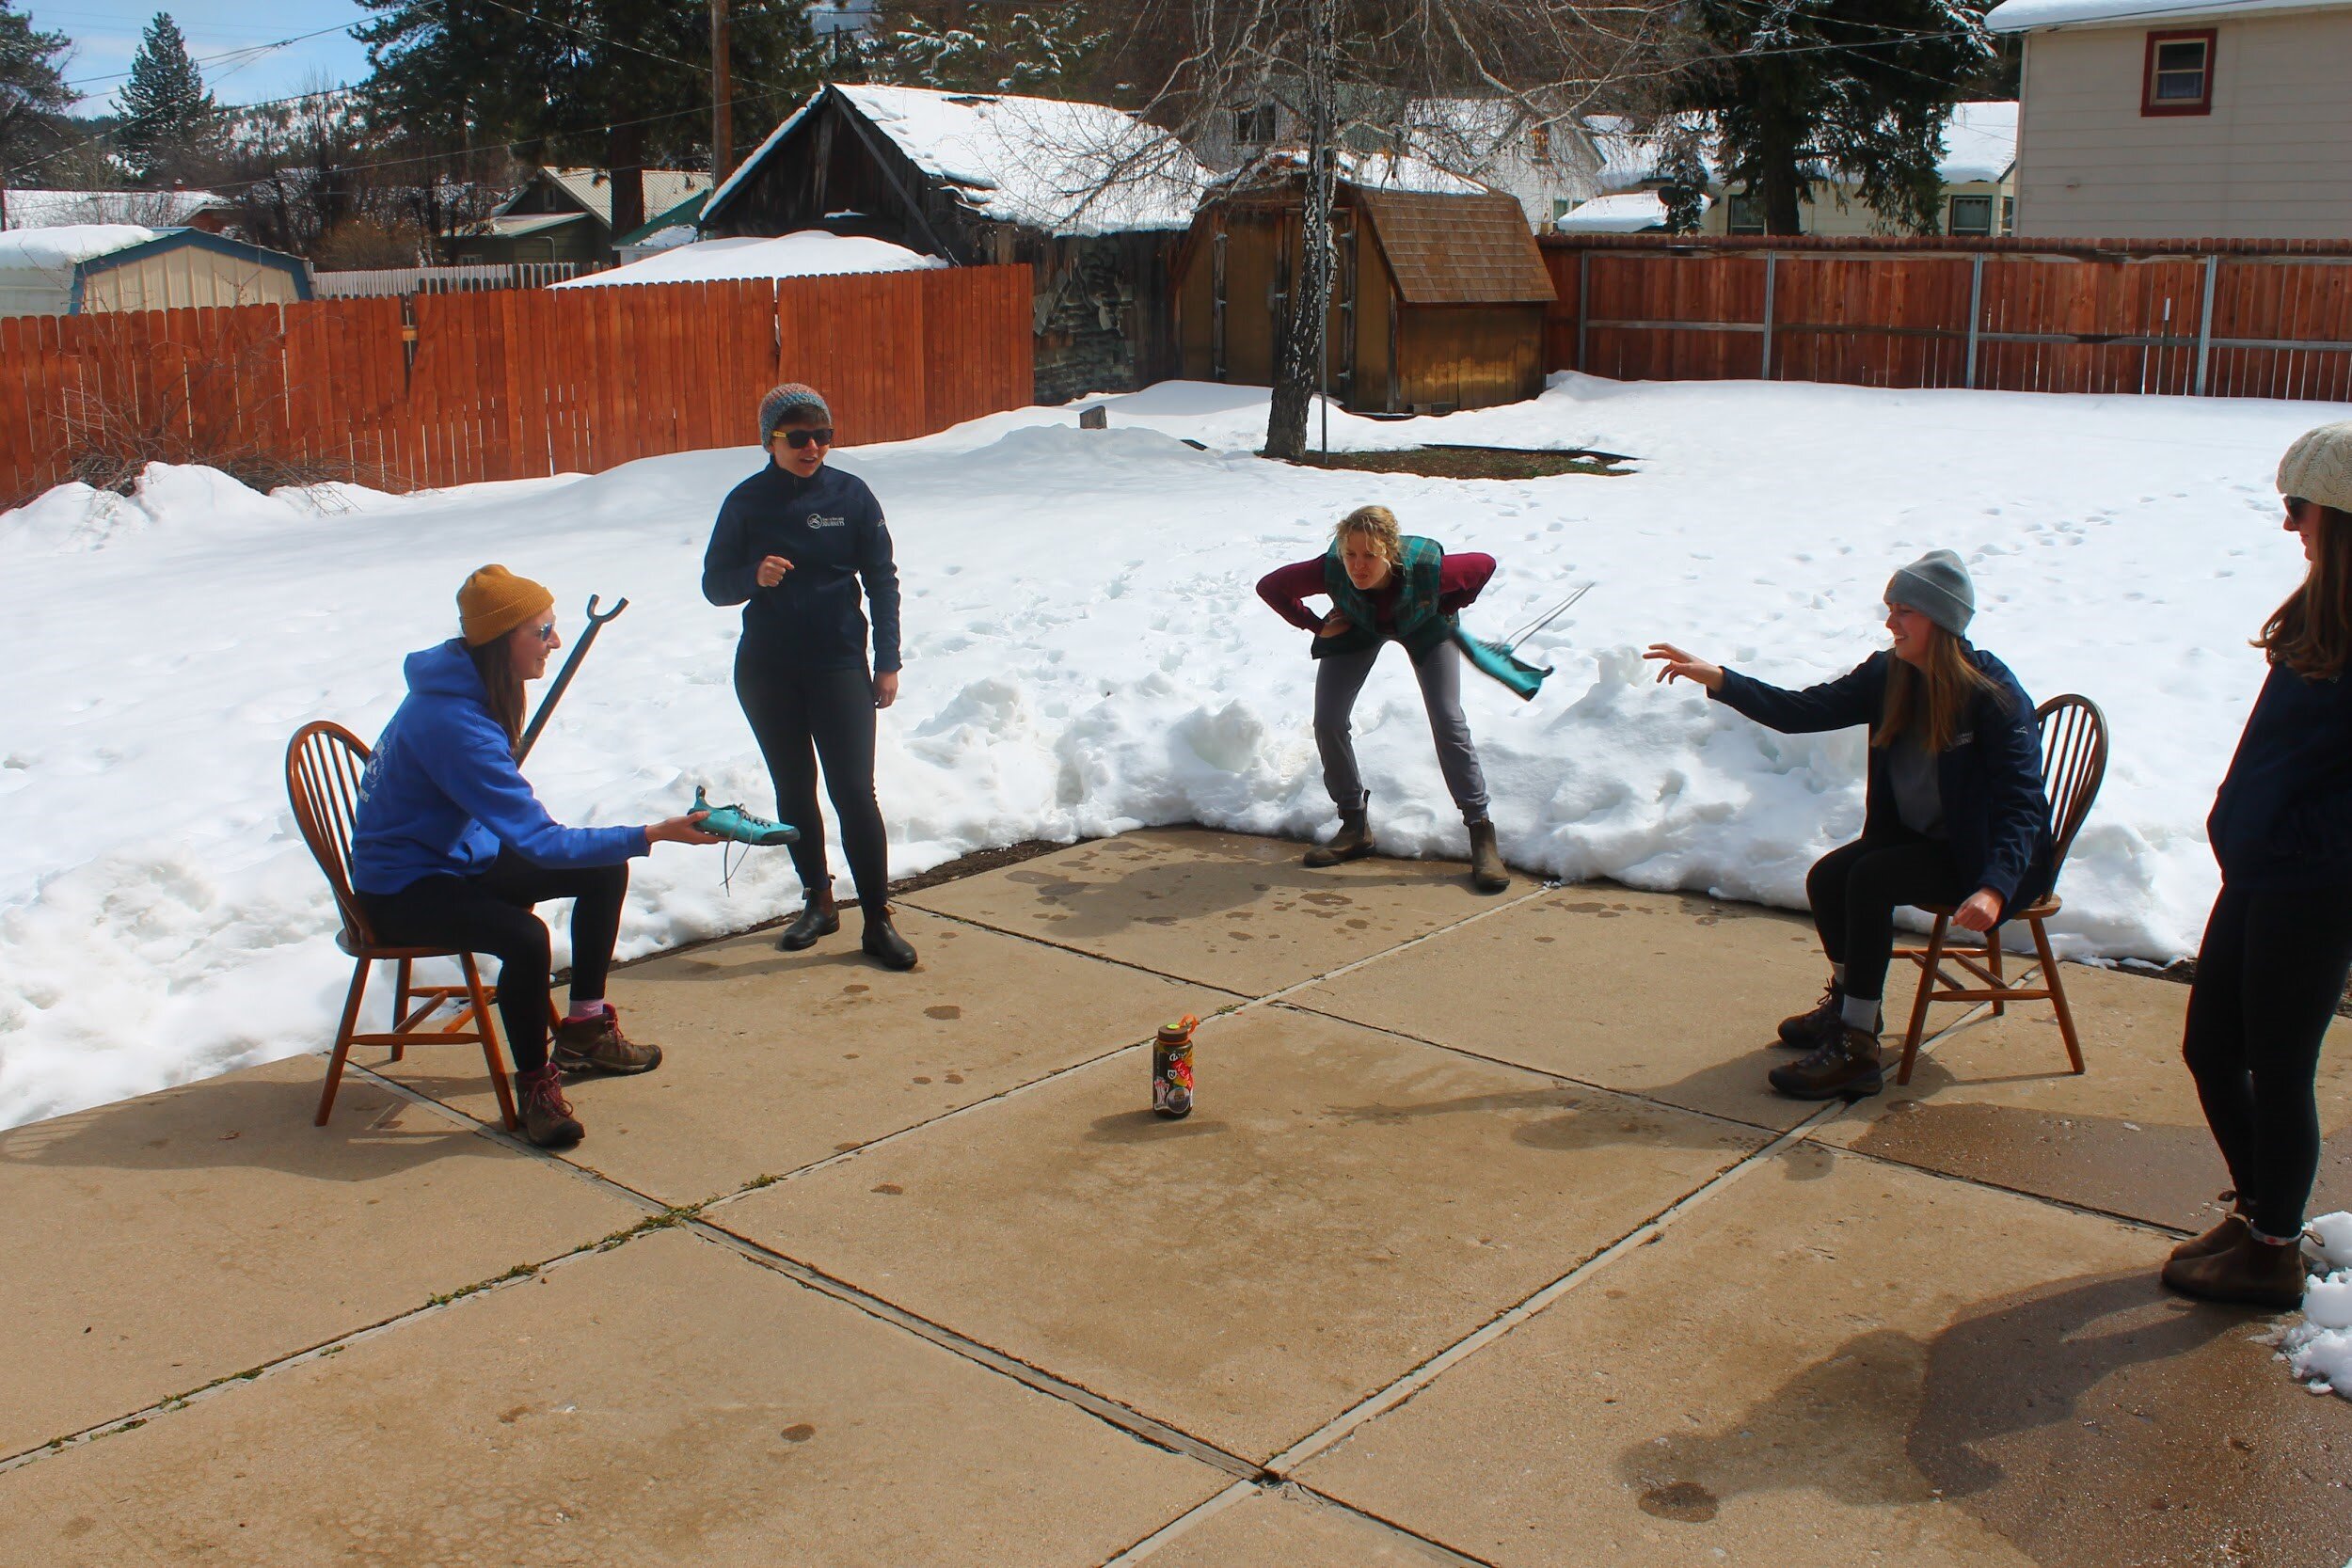
1. Place two chairs facing each other, about 7-to-10-feet apart. Place the water bottle in the center — between the two chairs — with one shoe on either side of the bottle.

2. Choose one person to be the “facilitator.” The facilitator’s job is to call out numbers to both teams once the game begins and make the official call on who wins the points on each round the game. They will also ensure that both teams are following the rules throughout the game.
3. Separate everyone else into two equal teams and have each person count off, “one” through however many people are playing the game. Teams should stand on opposite sides facing each other, in the order of their numbers. For example, Team A: 1,2,3,4; Team B: 1,2,3,4.
4. The facilitator will yell out a single number and whoever the number pertains to will run to grab a shoe, run back to sit in a chair (either chair is open for the taking). Then, the two players try to knock the water bottle down remaining seated in their chair.

5. The first team to knock the water bottle down ears a point!


6. After a few rounds, the facilitator can combine players. The players must combine elbows before grabbing the shoe. One person must sit in the chair while someone kneels next to them. Facilitator announces, “Team A players 1, 2 and 3 and Team B plays 1, 2 and 3, grab the elbows of each other and work together to grab the water bottle, return to the chair and attempt to throw the shoe at the bottle, all while remaining locked together at the elbow.”


7. If people break their bond with their teammates, they must sit in the chair and wait five seconds until they can try again. The winner is the first team that scores ten points.
Rules:
Your team can only have one shoe in your hand at a time. However, it does not matter which shoe.
Your team must be sitting in a chair to throw the shoe at the water bottle. However, it does not matter which chair.
Your team cannot block the other team from hitting the bottle.
A round is not over until the water bottle is knocked over by one of the teams.
Community Agreements - Using a Coloring Page
Discipline: Team Building and Community Agreements*
Age Range: 10+
Estimated Time: 10-20 minutes
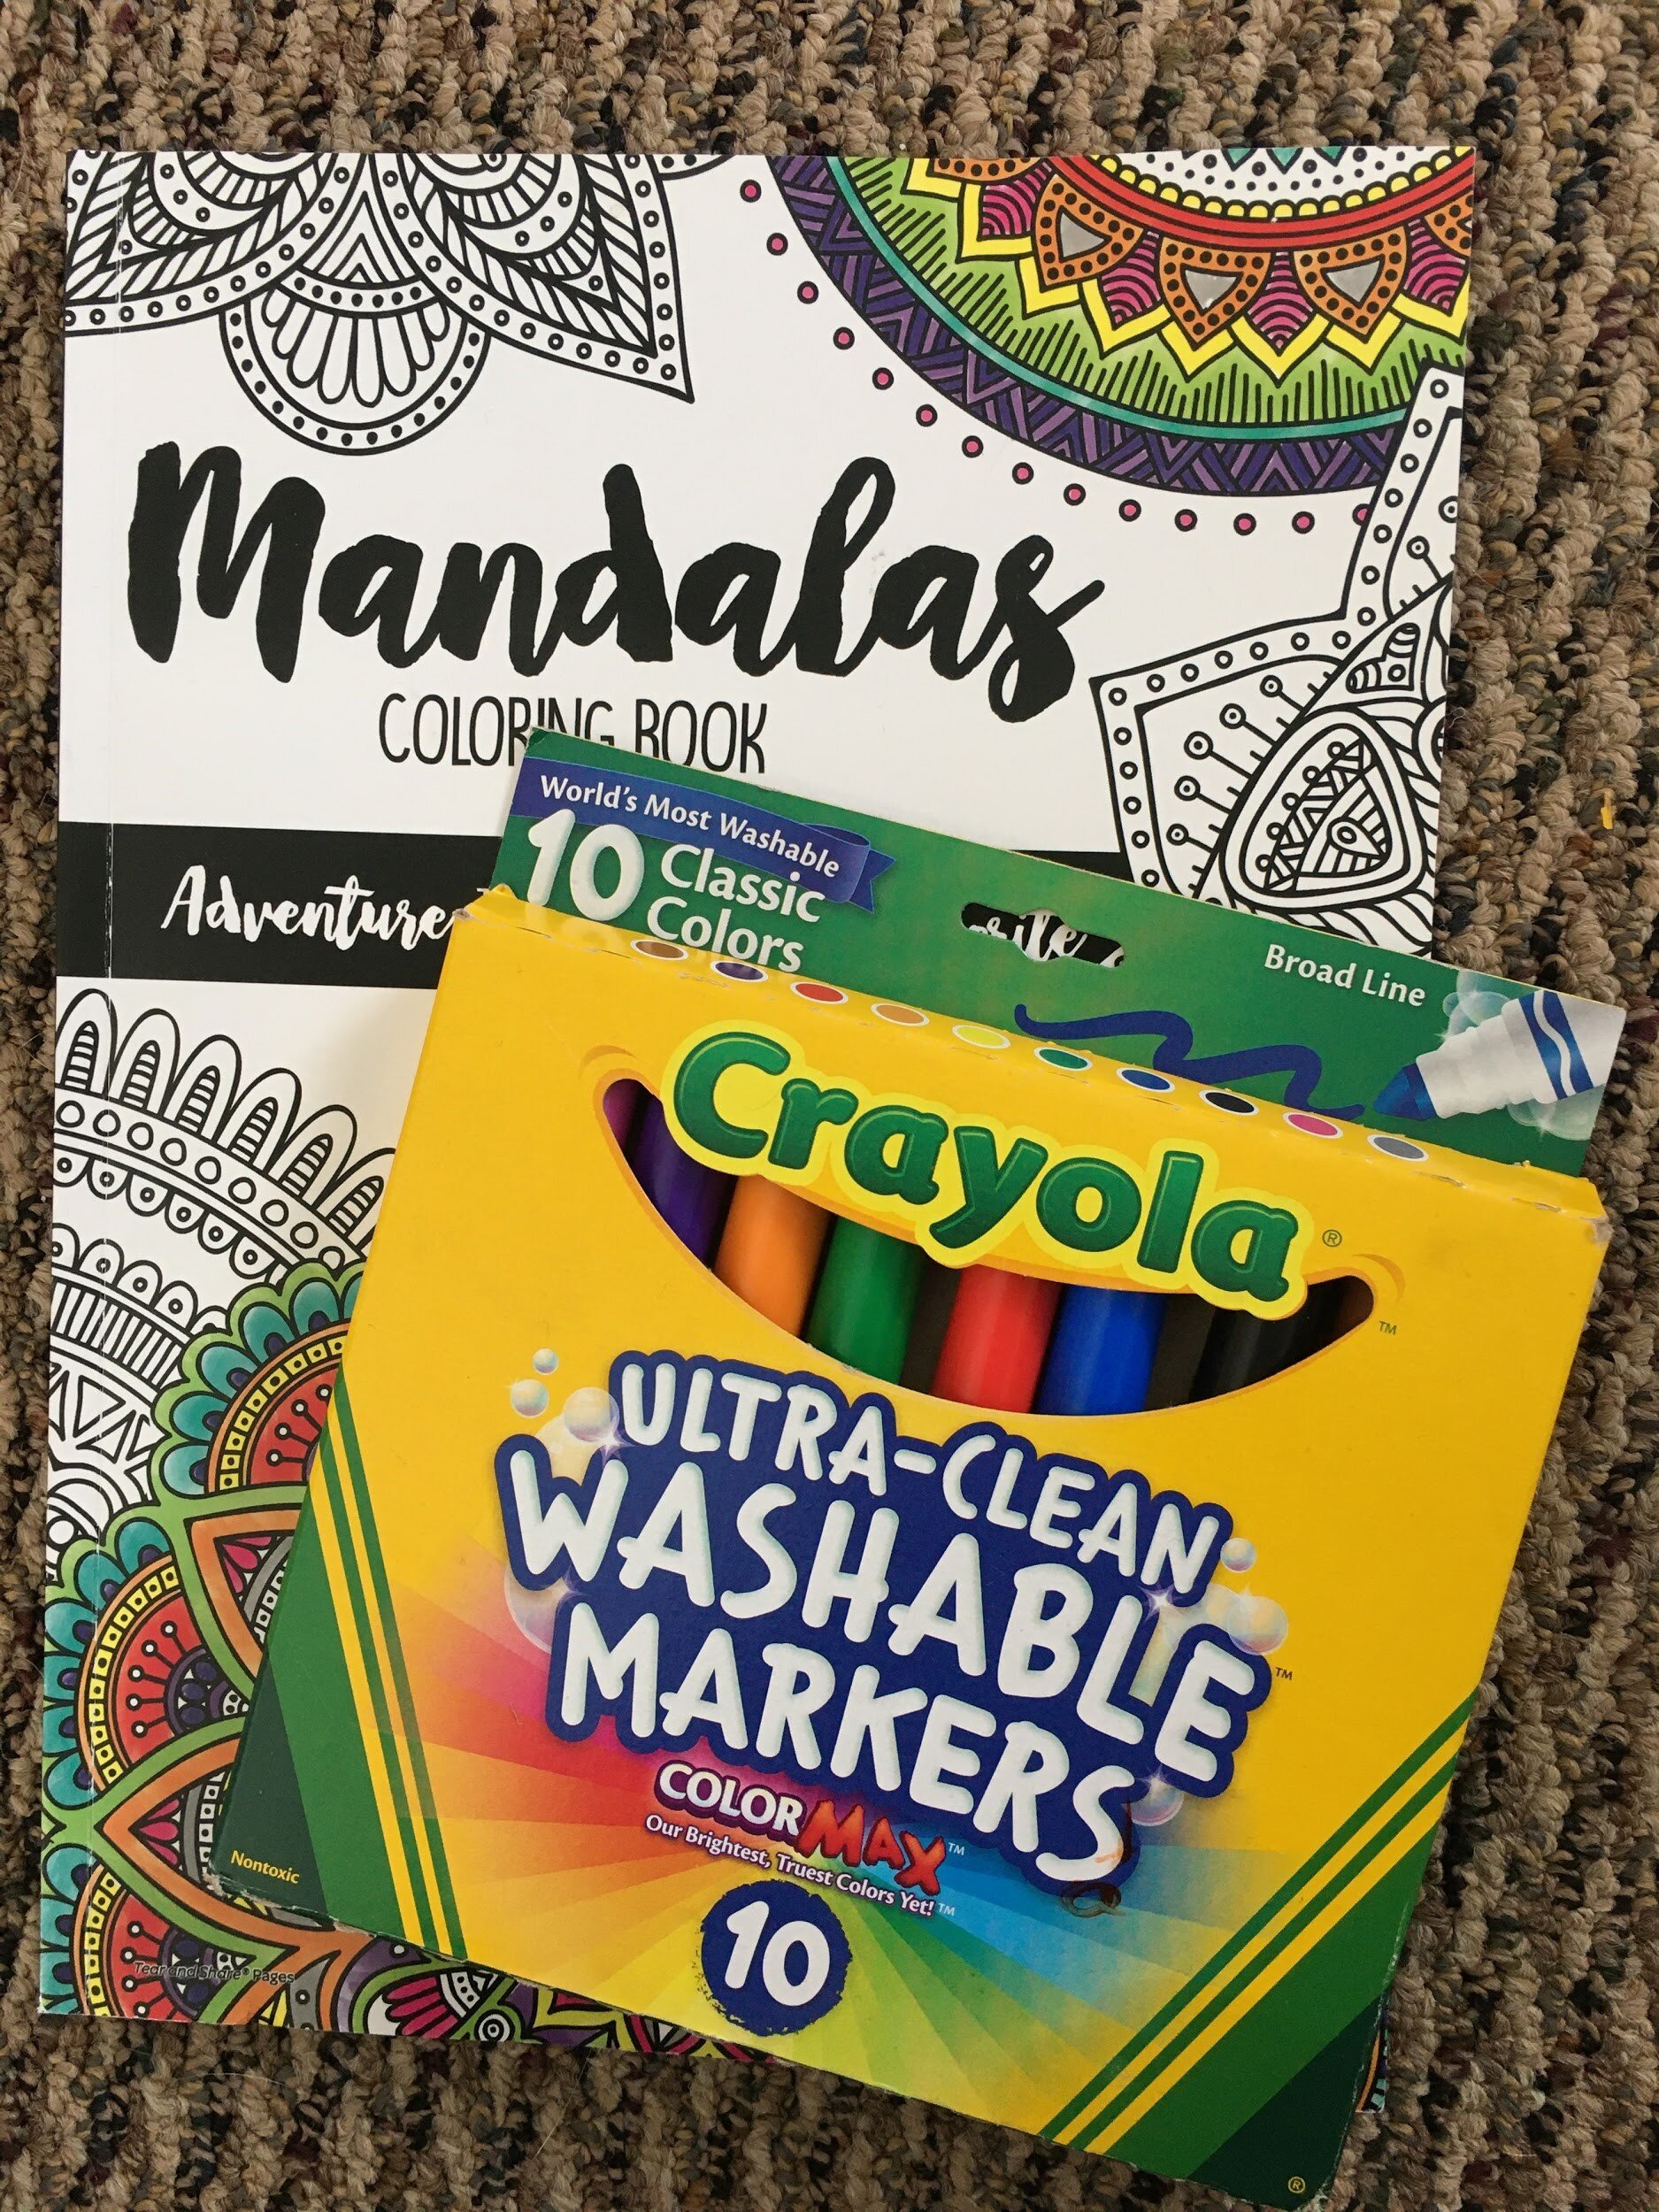
What you need: Coloring page (coloring book or online page that you print out); markers, colored pencils or paint
*Community agreements are created as a way to establish a mutual understanding or make a set of expectations for all members of a community to abide by. They can be based on many things, such as how to support each community member and how to make everyone feel included. Please see What is a Community Agreement? blog post before starting this project.
Instructions:
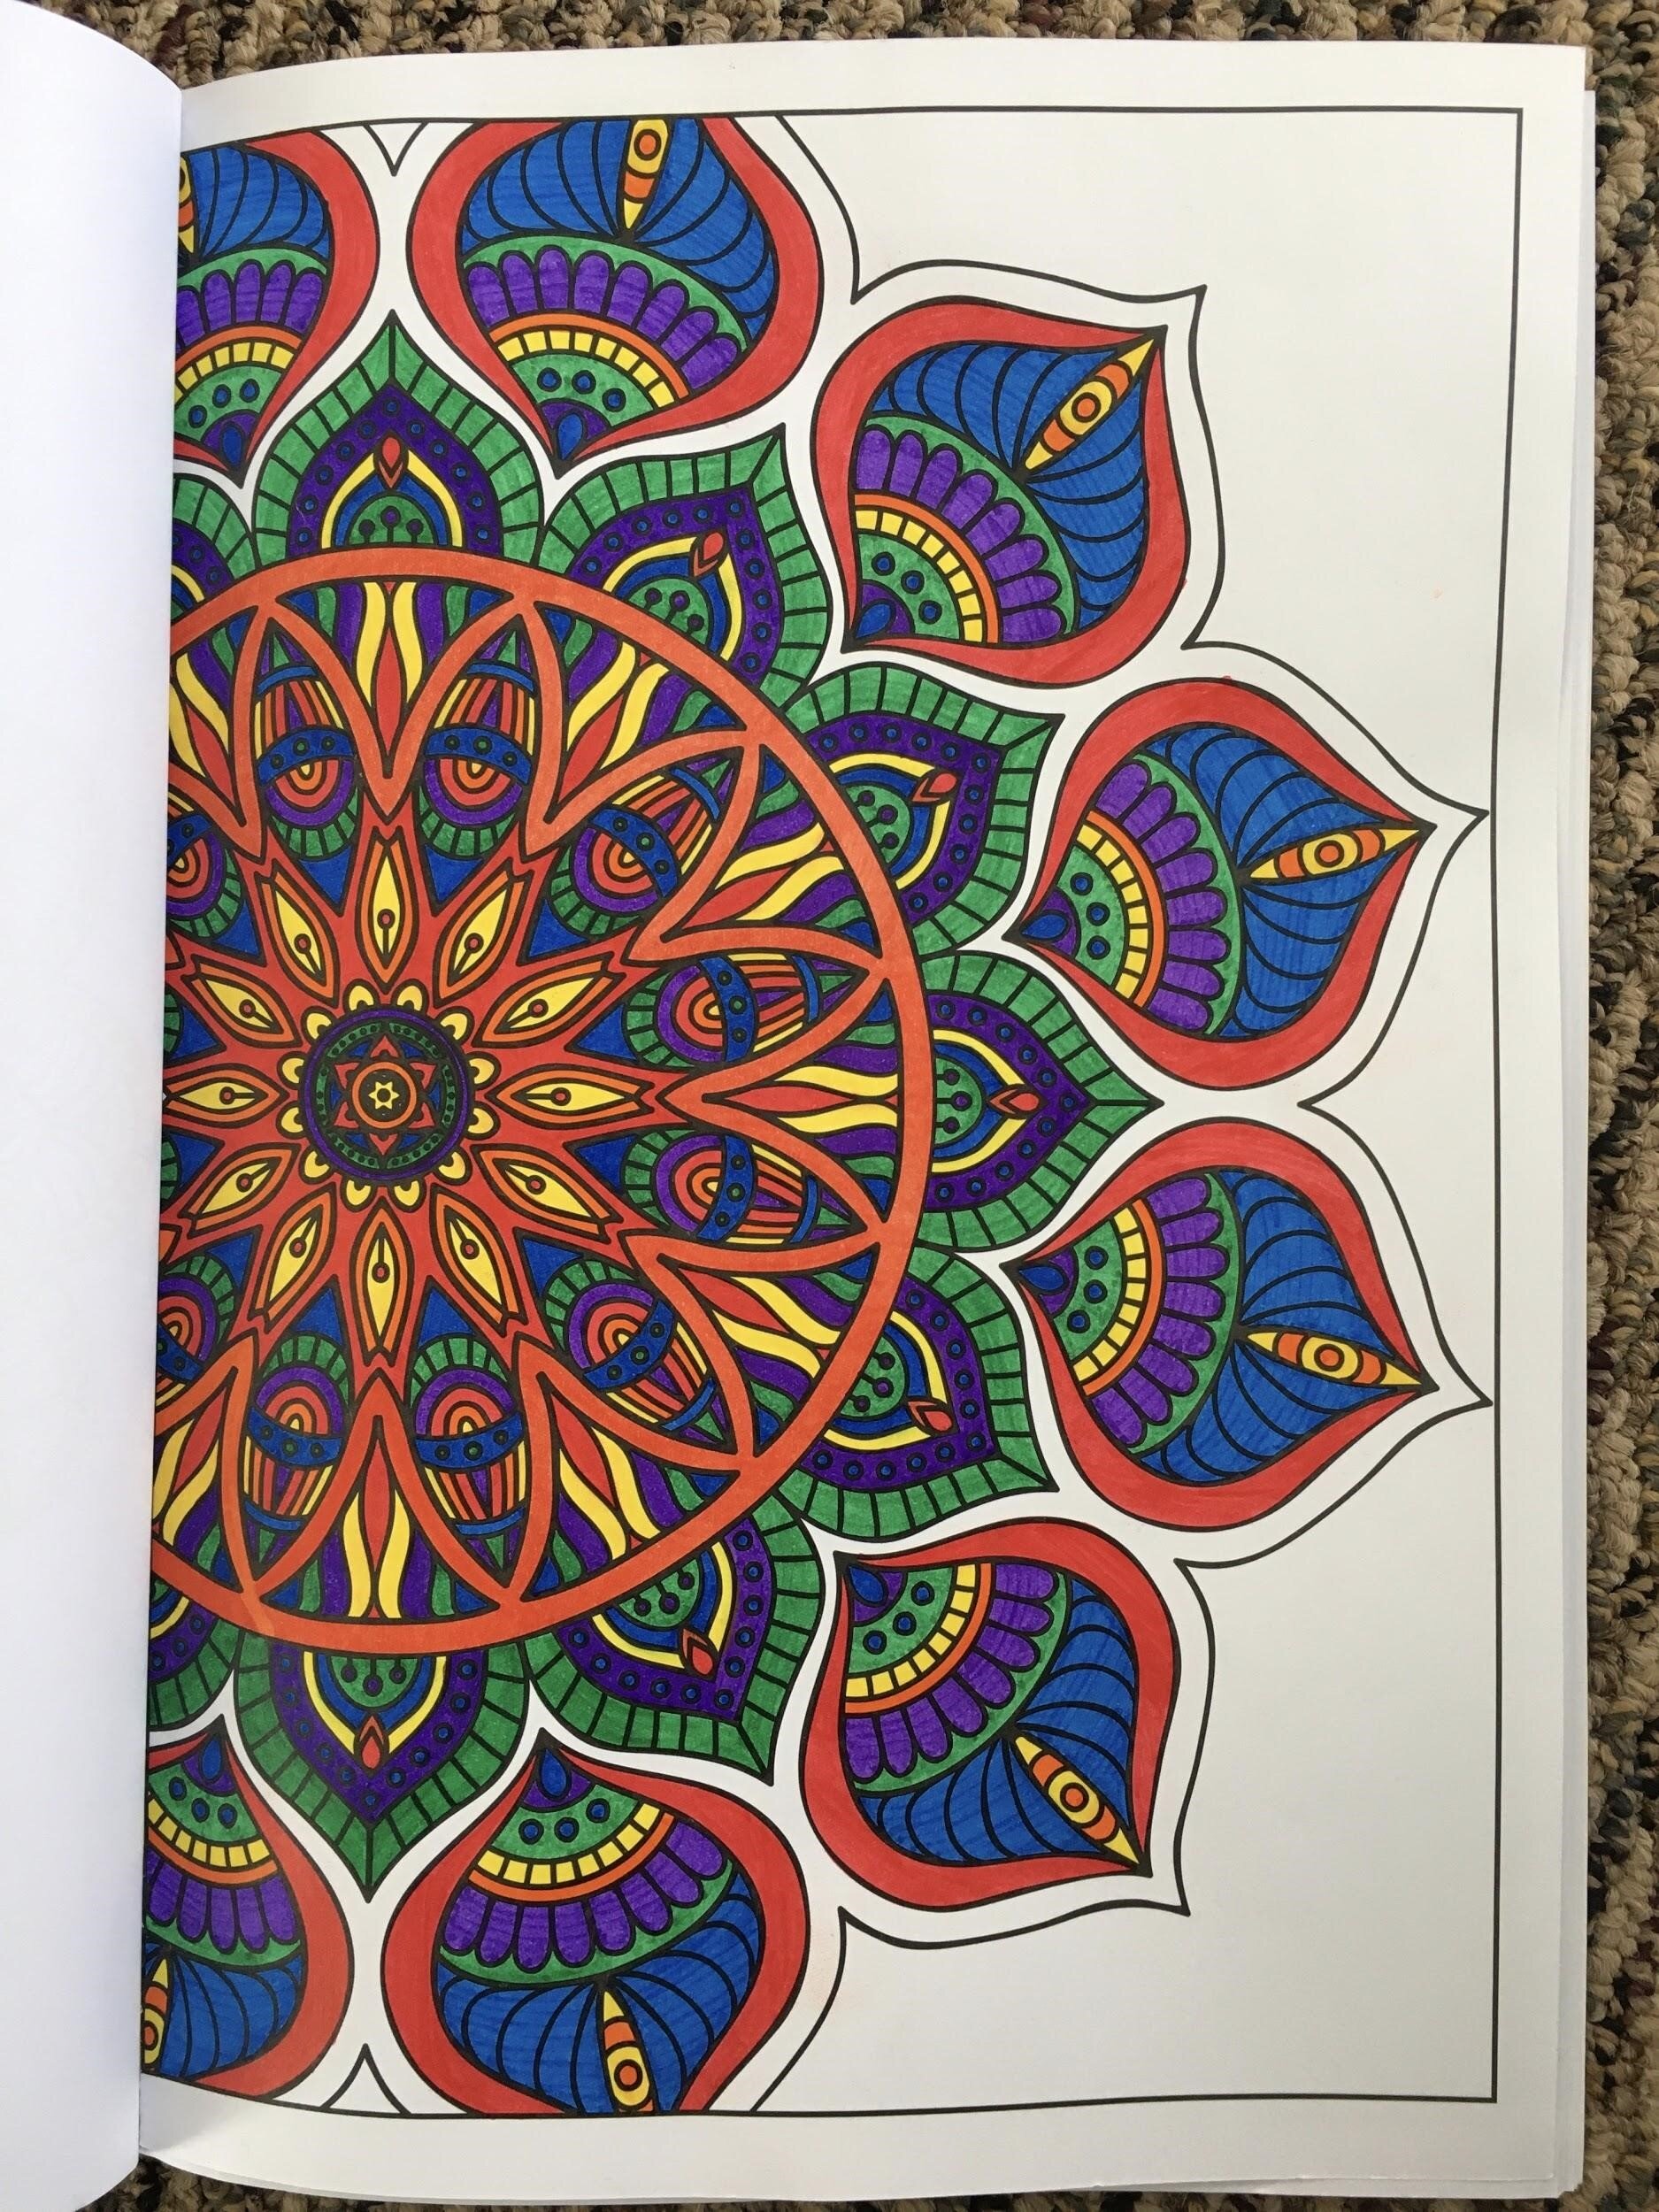
1. Start with a coloring book and choose your favorite page, or find an online coloring page that you can print or draw your own design.
2. Add some color.
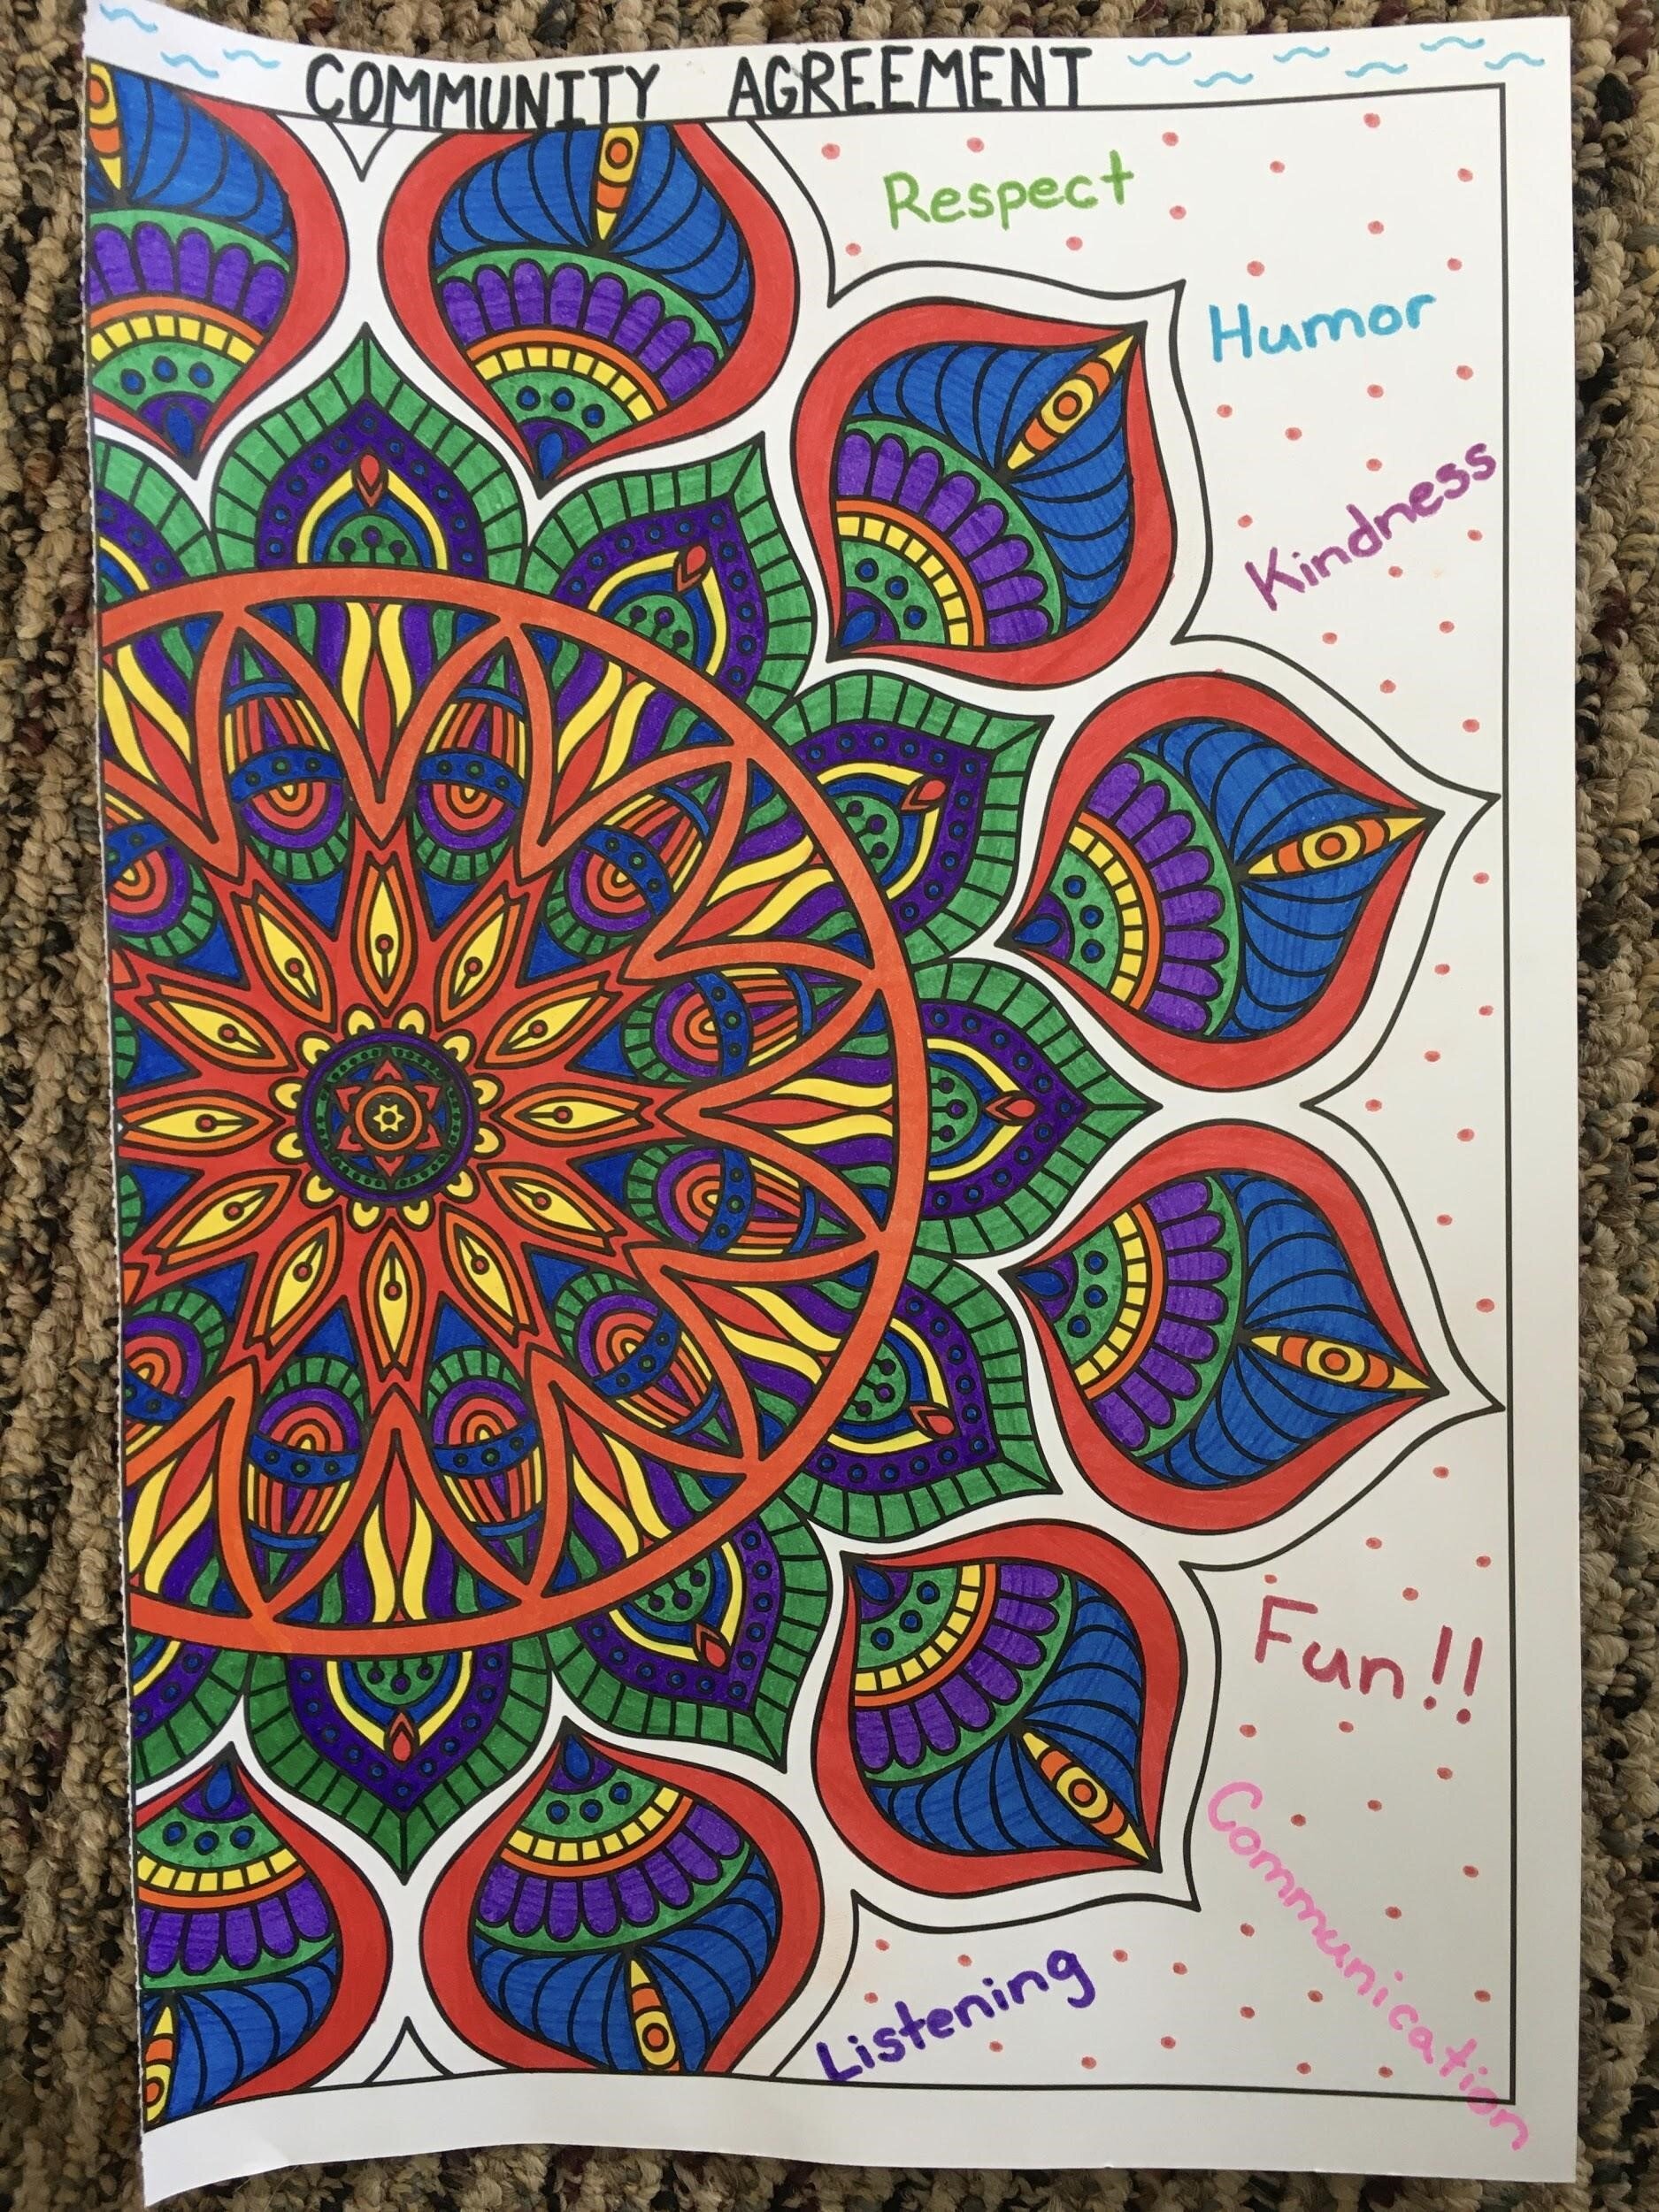
3. Add values. Have everyone add different values they believe are important for being in a community.
Vision-Blocked Polygon
Discipline: Team Building
Age Range: All ages
Estimated Time: 20-30 minutes
What you need: At least three or more people our choice of rope, string or yarn, approximately 20-30 feet in length; vision blockers (i.e., bandana, scarf, beanie, t-shirt, pillowcase, headband, or a hoodie worn backward)

Instructions:
You and your team are going to work together to use the rope in front of you to create a shape. The catch is that you will be vision-blocked while you do it!
Have each member of your team pick a spot on the rope and grab onto the rope with hands out in front of them like a set of handlebars on a bicycle (palms face down, hands out in front on the rope).
Once each team member has grabbed onto the rope and put on vision blockers, decide on which shape you would like to make. You can make any shape that you want, but here are some examples to get you started:
Easiest: circle, square, triangle
Easier: banana, ice cream cone, tree, hot sauce bottle
Medium: the letter “Y,” shape of Nevada or California, Pac-Man
Harder: star, lightning, heart, tea kettle
Hardest: sunglasses, human body outline, a handOnce you have begun, there is one important rule: You may not take your hands off of the rope! You may slide your hands up and down the rope, but if you bump into someone you cannot go around them.
During the activity, you will have to communicate with your team members to try to create the shape. Once you feel good about your shape, lower the rope to the ground. Once you have done this you can take your vision blockers off to see how you did!


Debrief Questions:
How did it feel to be vision-blocked?
What was your plan for this activity? How did you come up with that plan?
What did/didn’t you enjoy about the activity and why?
How did you ensure that everyone knew what was happening?
Did you adapt your approach to the activity at any point? How did you adapt?
Helpful Hints: Start with a less challenging shape and once it is complete, talk about it as a team afterward. This will give your team a chance to talk about what went well, and make an improved plan for the next shape!
With some of the more challenging shapes, you may not get it perfect. Our team took 30+ minutes trying to get into the shape of a star before we decided as a group it was the best we could do.
New Words:
Polygon: Any two-dimensional shape formed with straight lines. Triangles, quadrilaterals, pentagons, and hexagons are all examples of polygons. The name tells you how many sides the shape has.