
Discipline: Social Emotional Learning
Age Range: 9-12 (all ages with adult supervision)
Estimated Time: 20-30 minutes
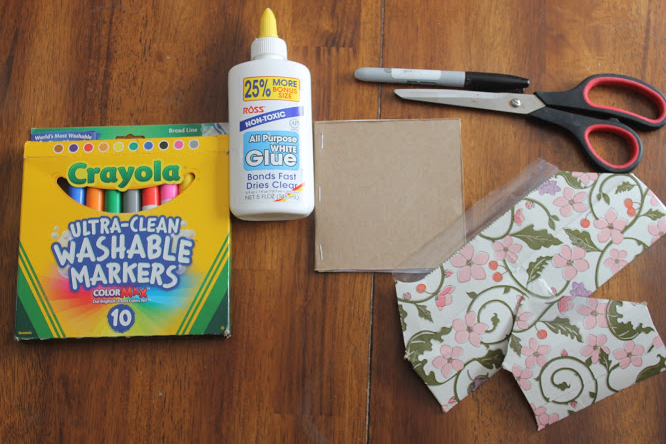
What you need: Scissors, rectangular tissue box or any other cardboard box, printer paper, stapler OR needle and thread, sharpie, glue or tape (optional), plus any fun decorations (optional)
Journals are used by many people to pull thoughts, feelings, and ideas out of their heads and on to paper! These ideas can be expressed through words, drawings, pictures, and many other creative ways. Here is one way of constructing your very own journal, with limited resources, to use how you would like!
Instructions:
1. Cut out the bottom of the tissue box so you have a rectangular piece of cardboard.

2. Fold the cardboard rectangle in half. You’ve created the cover of your new journal!

3. Fold one piece of printer paper in half (hamburger style), and then in half again (hamburger style). This should create a small booklet of four pages.


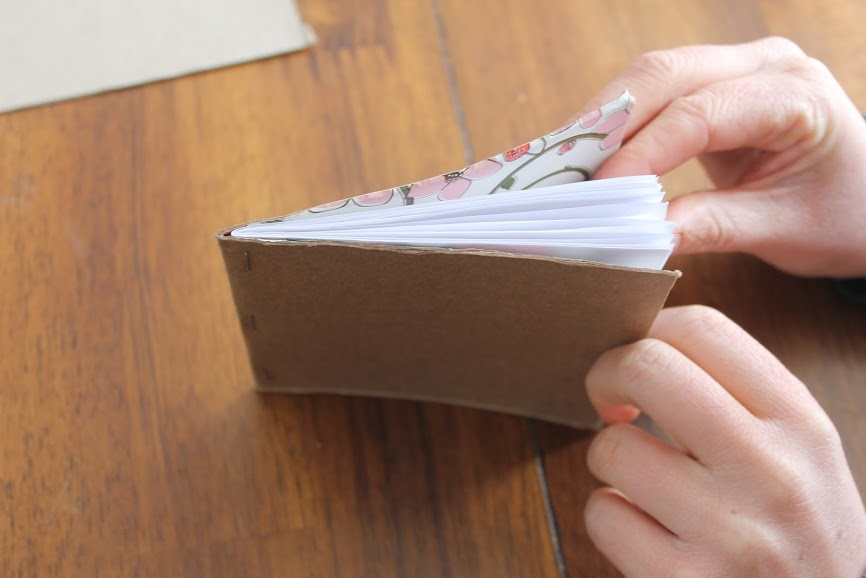
4. Use this folding method for at least four pieces of paper, then stack the booklets of paper together as shown. When stacking, be sure that the sides that open are with each other and closed sides are together as well.


5. Place the stacked booklets inside the cardboard “cover”. Align the open-sided pages up with the top edge of the cover. The closed sides of the pages should poke out from the bottom of your cover.

6. Use scissors to cut off the edge of the pages that poke out the bottom of your cover. All of your pages should be able to open left to right, just like a book. Your journal is almost complete!


7. Using a stapler, staple your journal together along the folded edge of the cardboard. Keep the stapler as close as possible to the fold so that you can maximize the size of your page. (Don’t have a stapler? No problem; you’ll find instructions in a second blog post for using a needle and thread.)


8. Your personal journal is done! Use whatever materials you’d like to decorate the cover — stickers, glitter, drawings, paint, etc.